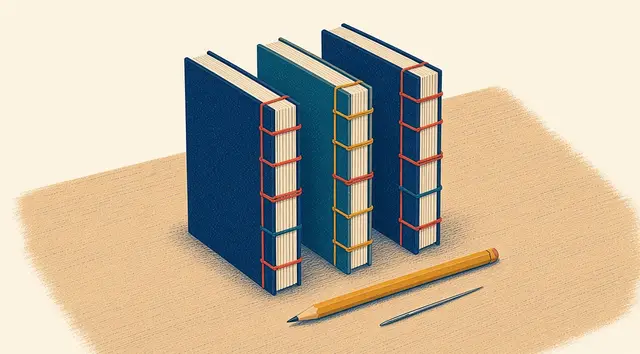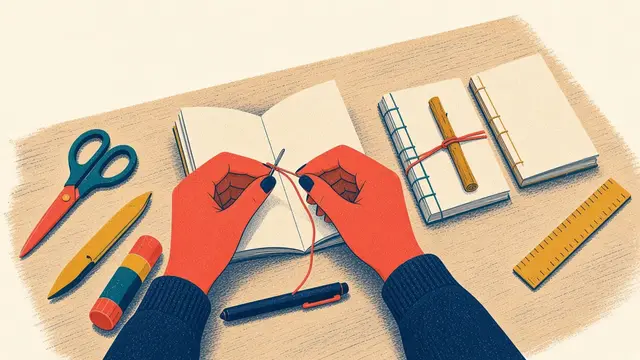
Start bookbinding with a single-section book sewn with a three-hole pamphlet stitch: one folded section, a card cover, a needle, waxed thread and an awl. It takes about 45 minutes and teaches the habits every other binding needs: grain parallel to the spine, holes pierced through a guide, and stitches pulled along the spine. Then move up to multi-section long stitch, an exposed-spine coptic stitch, and finally a case-bound hardcover.
In this guide
- What a binding has to do
- The words you will meet
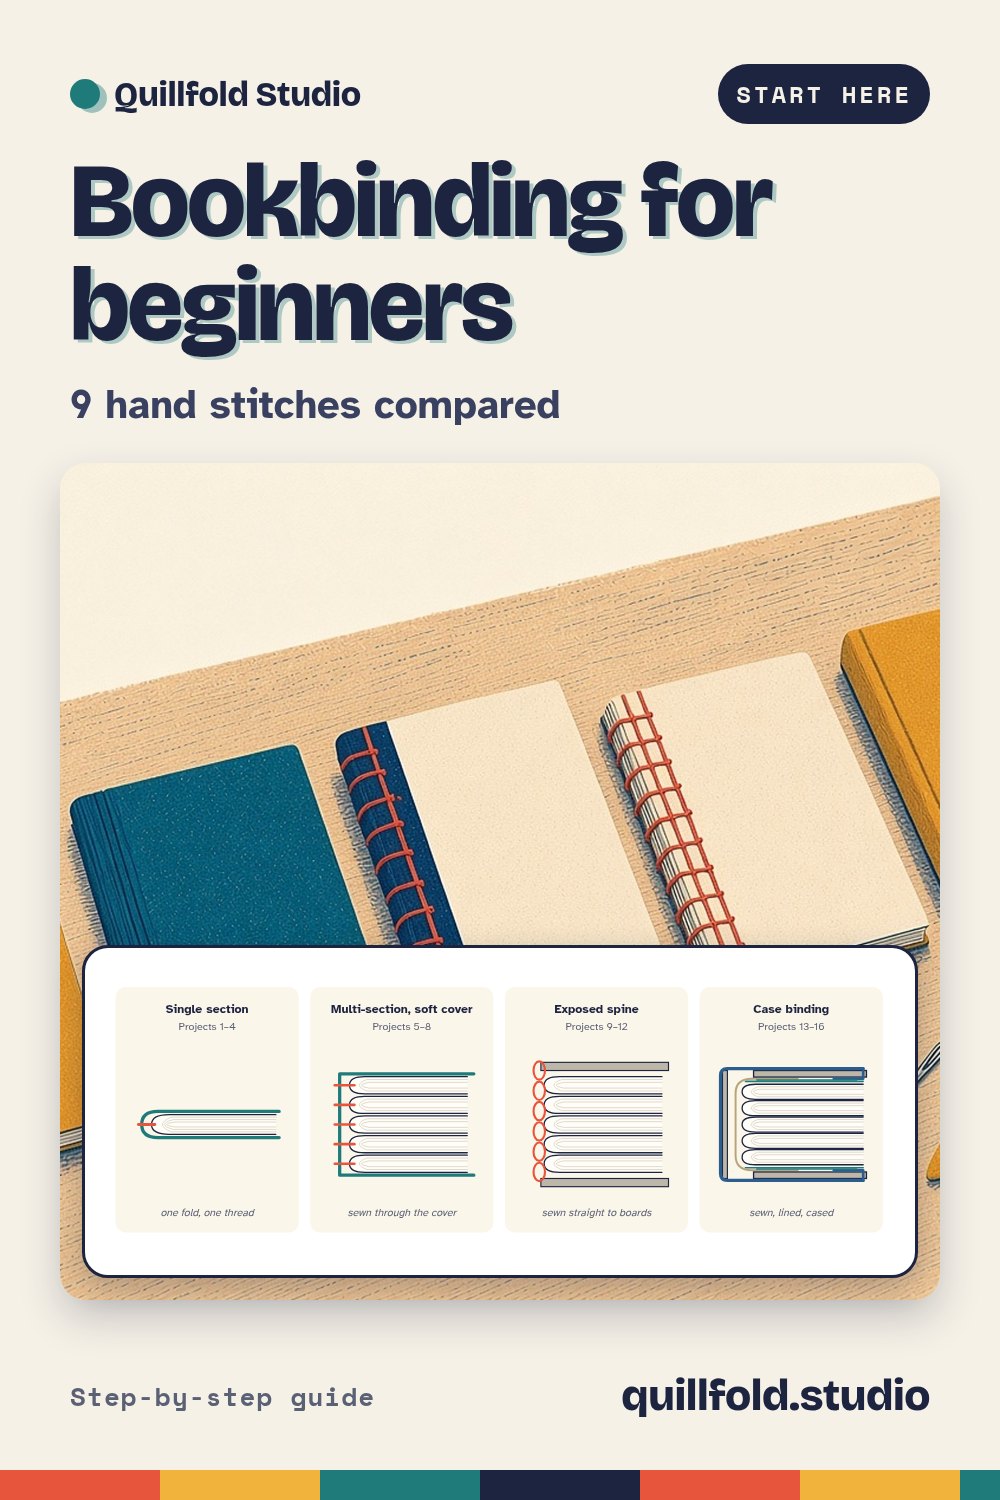
- The four families of binding
- Nine hand stitches compared
- Where to start: a five-step ladder
- The tools worth buying
- The one rule: grain parallel to the spine
- Thread length, without guessing
- Your first book in an evening
- Beginner mistakes and their fixes
- Next steps and free templates
Bookbinding looks like a craft of special presses and leather, but almost every handmade book starts with a folded sheet of paper, a needle and a length of thread. You can make a sewn notebook tonight with tools from a kitchen drawer, and a cloth hardcover within a few weeks of evenings.
This guide gives you the map: what a binding has to do, the four families every handmade book belongs to, the main hand stitches side by side, the tools worth buying, and the one rule about paper that decides whether your first book lies flat or springs open. If you already make zines, you know more than you think: the pamphlet stitch you use on a zine is the first stitch of bookbinding too.
First book: a pamphlet-stitched pocket notebook, about 45 minutes · First multi-section book: a long-stitch journal, about 2 hours · First hard covers: a coptic-stitch sketchbook, about 3 hours · Rule to learn first: grain parallel to the spine
What a binding has to do
Every binding, from a stapled booklet to a leather-bound ledger, solves the same three problems. It holds the pages together in order. It lets them open and turn. And it protects them. A structure that does all three well is a good binding, whatever it looks like.
Different structures solve those problems in different ways. A single-section notebook holds its pages with one length of thread through the fold. A long-stitch journal sews several sections straight through a soft cover. A case-bound hardcover sews the sections together, lines the spine, then glues the whole text block into a separate rigid case. Once you see which problem each step is solving, instructions stop being a list to memorise.
The words you will meet
Binders have a word for every part of a book, and knowing a handful makes any tutorial easier to follow.
| Term | What it means |
|---|---|
| Section (signature) | A group of folded sheets nested one inside another and sewn through the fold. Sixteen to twenty-four pages is typical. |
| Folio | One sheet folded once: two leaves, four pages. |
| Text block | All the pages, sewn or glued together, without the cover. |
| Head, tail, fore-edge | The top edge, the bottom edge and the opening edge. |
| Stations | The sewing holes along the fold of a section. |
| Boards | The stiff panels of a hardcover, usually greyboard. |
| Case | A hard cover made separately from boards and cloth, before the text block goes in. |
| Mull | Open-weave cotton glued across the spine of a hardcover to help hold the text block in its case. |
The four families of binding
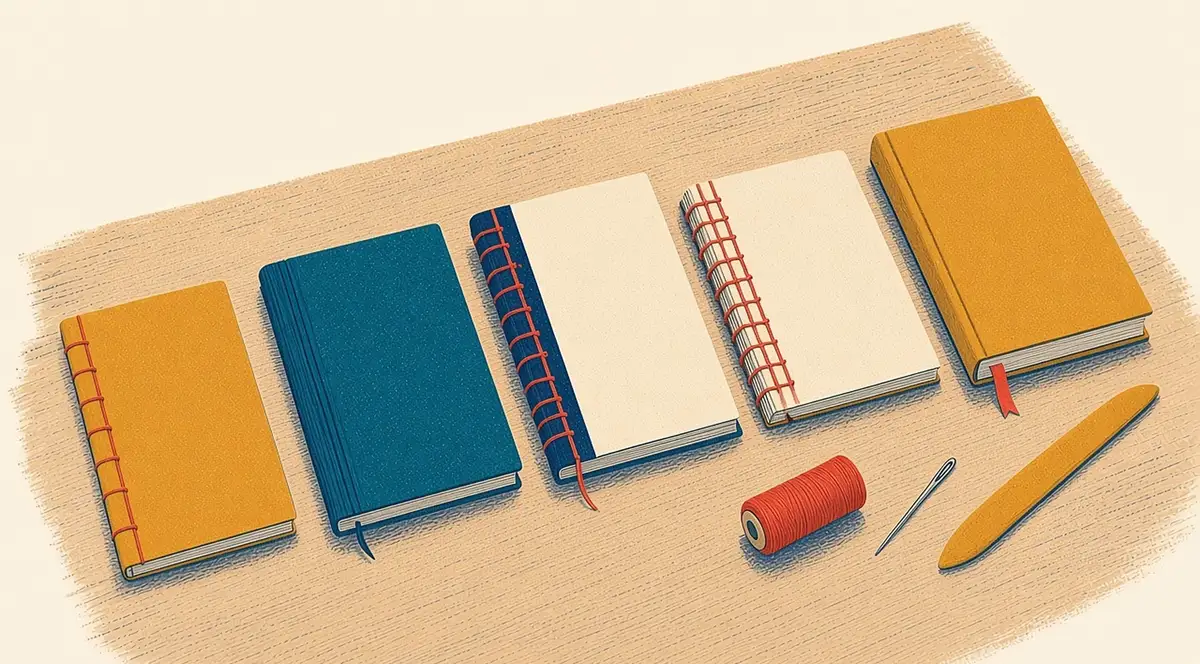
Almost every handmade book belongs to one of four families. Learn to recognise them and you can look at any book in a shop and guess how it was made.
Single-section bindings have one group of folded sheets, sewn through the fold. They are quick, need no glue, and are the right place to start. A zine sewn with a pamphlet stitch is one.
Multi-section soft bindings sew several sections together, usually straight through a flexible cover. Long stitch, sewing on tapes and kettle-stitch paperbacks belong here. They hold far more pages than a single section and many open flat.
Exposed-spine bindings leave the sewing on show, so the book opens completely flat. The coptic stitch is the classic, and the reason it is the favourite binding for sketchbooks.
Case bindings are the hardcovers you see in shops: a sewn text block glued into a rigid cover. They take the most steps and the most drying time, and they last the longest.
One structure sits outside the four: Japanese stab binding, which sews through single sheets near the spine edge instead of through a fold. It suits loose prints and photographs but does not open flat. The zine bindings guide shows it alongside staples and the pamphlet stitch.
Nine hand stitches compared
| Stitch | Family | Glue? | How it opens | Use it for |
|---|---|---|---|---|
| Three-hole pamphlet | Single section | No | Well, at the centre fold | Zines, pocket notebooks, your first book |
| Five-hole pamphlet | Single section | No | Well, at the centre fold | Single sections taller than about 15 cm (6 in) |
| Long stitch | Multi-section, soft | No | Flat | Travel journals; long stitches show on the spine |
| Linked long stitch | Multi-section, soft | No | Flat | A firmer long stitch with chains across the spine |
| Kettle stitch | A linking knot at the end stations | No | Depends on the binding | Joining each section to the ones below in most multi-section books |
| Sewing on tapes | Multi-section, soft or case | Spine lining | Well | Limp bindings and strong hardcovers |
| Coptic | Exposed spine | No | Completely flat | Sketchbooks, recipe books, anything you draw or write across |
| French link | Multi-section, often cased | Spine lining in a case | Well | Hardcovers sewn without tapes |
| Japanese stab | Single leaves, edge-sewn | No | Not flat | Prints, photographs, single sheets |
How to choose. Decide how the book has to open first. If it must lie completely flat for drawing, sew an exposed spine. If it needs to survive a bag for years, case-bind it. If you want it finished tonight, use a single section. The page count then narrows the choice: one section holds roughly 4 to 32 pages of copy paper; beyond that, sew several sections.
Where to start: a five-step ladder
Each step below adds one or two new skills to the ones before, so you never face more than a couple of new ideas at a time.
- Single sections. Grain, folding, piercing through a guide, the pamphlet stitch, a scored card cover.
- Multi-section soft covers. Sewing several sections with one thread, long stitch, the kettle stitch, sewing on tapes.
- Boards and exposed spines. Cutting and covering board, cloth hinges, the coptic stitch, a first small case.
- Hardcovers. Endpapers, spine linings, building a case and casing in, quarter binding, rebinding a paperback.
- Protect and repair. Slipcases, enclosures, tipping in loose pages, mending tears, re-casing a worn hardcover.
Most people can work through the first level in a weekend and reach a first hardcover within a month of evenings.
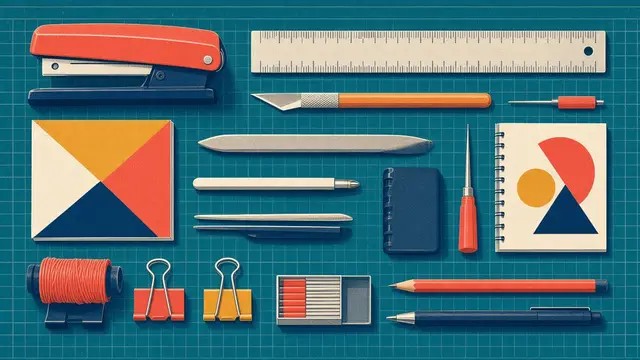
The tools worth buying
| Tool | What it does | Until you buy one |
|---|---|---|
| Awl | Pierces sewing holes through folds and card | A push pin or a thick needle pushed into a cork |
| Bone folder | Creases folds, scores card, smooths glued paper | The back of a metal spoon |
| Bookbinding needles (size 18 or 20) | Sewing sections | Blunt tapestry or darning needles |
| Steel ruler, 30 cm (12 in) or longer | Measuring and guiding the knife | A metal-edged ruler; never cut against plastic |
| Craft knife and cutting mat | Paper, cloth and board | A box cutter for board; thick corrugated card as a mat |
| Binder clips | Holding sections while you pierce and glue | Clothes pegs |
| Two smooth boards and heavy books | Pressing work flat while it dries | Two chopping boards |
Spend money on three things first: a good awl, a steel ruler and fresh blades. Almost every crooked hole and ragged edge in a first book comes from a blunt point, a flexing ruler or a dull blade.
Thread. Waxed linen (3- or 4-ply) is the all-rounder for exposed spines and long stitch. Waxed polyester is very strong and good for classes, but slippery, so tie three throws in each knot. Embroidery cotton is fine for practice if you wax it.
Paper. For writing and sketching books, 90 to 120 gsm works well; 120 to 150 gsm drawing paper makes a good sketchbook. Copy paper at 80 gsm is fine for practice. For covers, use 250 to 300 gsm card that folds without cracking. The zine sizes and paper guide converts gsm to US lb weights.
The one rule: grain parallel to the spine
Machine-made paper and board have a grain: most of the fibres line up in the direction the machine ran. Paper folds and bends more easily along the grain, and swells across it when damp. So the grain of every sheet, board and lining must run from head to tail, parallel to the spine. Then the pages turn easily, folds stay crisp, and the book stays flat when glue or damp air makes the materials swell.
Packs of Letter and A4 copy paper are almost always long grain. Fold a whole sheet in half and the grain runs across the fold: harmless in a thin single-section notebook, but a cause of stiff pages and bowed covers in sewn multi-section books and hardcovers. The fixes are simple: cut the sheet in half and fold each half (that gives quarter-size folios with the grain right), buy short-grain paper, or cut half-size sheets from Tabloid or A3.
The quickest test is the bounce test: lay the sheet down and bend it over without creasing, one way and then the other. It bends more easily when the curve runs with the grain. Pencil an arrow on every sheet as soon as you know.
Thread length, without guessing
| Binding | How much thread | Example |
|---|---|---|
| Single section | 3 × the section height | A5 section: about 63 cm |
| Several sections | Section height × number of sections, plus one height | Eight A5 sections: about 1.9 m, in two lengths |
| Coptic | As several sections, plus 30 cm for the covers | Eight A5 sections: about 2.2 m, in two or three lengths |
| Japanese stab | 4 × the height of the book | A5 book: about 84 cm |
Work with no more than about 1.5 m (5 ft) at a time; longer thread tangles. Join a new length with a weaver’s knot inside a section, never on the spine, so the knot hides in the fold.
Your first book in an evening
- Cut, then fold. Cut three sheets of Letter or A4 in half, fold each half with a bone folder, and nest them into one section. The grain now runs along the fold.
- Make a piercing guide. Fold a strip of paper as tall as the section, mark three stations on the fold, measuring each from the head: one at the centre, one about 25 mm (1 in) from the head and one from the tail.
- Pierce in a cradle. Open the section to about 90° over a folded-card cradle, lay the guide inside the fold, and push the awl straight down through each mark. Pierce the folded cover through the same guide.
- Sew a pamphlet stitch. Out at the centre, in at the head, out at the tail, back in at the centre, then tie a square knot over the long inside stitch. The pamphlet stitch tutorial shows every move.
- Make a second one. The second is always better, and it is the fastest way to fix your own habits.
Pierce safely. Never pierce a section held in your hand or across your lap. Pierce into the cradle, with your free hand on the far side of the fold from the point, and keep a cork on the awl tip when you put it down.
Beginner mistakes and their fixes
| Problem | Likely cause | Fix |
|---|---|---|
| Pages spring open; the book will not close | Grain across the spine | Check grain on every sheet; cut long-grain sheets in half before folding |
| Holes do not line up from section to section | No guide, or the guide shifted | Pierce every section through one guide, head edges flush |
| Paper tears at a station | Blunt awl, station too near the edge, thread pulled outwards | Sharpen the awl; keep end stations 12–15 mm from the edge; pull along the spine |
| Thread tangles and knots itself | Thread too long or unwaxed | Work with 1.5 m at most and wax it |
| Sewing is loose when finished | Not tightened after each section | Tighten along the spine after every section |
| Boards bow outwards | Grain wrong, no lining, or pressed too briefly | Grain head to tail; line every board; press overnight |
Next steps and free templates
When the single section feels easy, sew an exposed spine: the coptic stitch sketchbook teaches piercing boards and the chain stitch, and opens completely flat. Zine makers will find the zine bindings guide a good bridge, with staples, stab binding and the five-hole stitch compared.
The free Bookbinding Template Pack on the reader bonuses page prints at actual size in US Letter and A4: piercing guides, gauges and calculators, plus a one-page class handout for a pocket notebook. It accompanies The Complete Bookbinding Handbook, Book 2 of the Quillfold Studio Handbooks, which is coming soon and not yet published.
Frequently asked questions
What is the easiest bookbinding method for beginners?
A single-section book sewn with a three-hole pamphlet stitch. It needs no glue and no boards, and a pocket notebook takes about 45 minutes. Long stitch is the easiest way to sew several sections together after that.
What tools do I need to start bookbinding?
An awl, a bone folder, a bookbinding needle, waxed thread, a steel ruler, a craft knife, a cutting mat, a pencil and some binder clips. A push pin, the back of a spoon and clothes pegs will stand in for the awl, bone folder and clips on your first book.
Which way should the paper grain run in a handmade book?
Parallel to the spine, from head to tail, for every sheet, board and lining. Office paper is usually long grain, so folding a whole Letter or A4 sheet in half puts the grain across the spine. Cut the sheet in half first, then fold, or buy short-grain paper.
How much thread do I need to sew a book?
For a single section, three times the section height. For several sections, the section height times the number of sections, plus one more height. Coptic needs about 30 cm (12 in) more for the cover attachments. Work with no more than about 1.5 m at a time and join new lengths with a weaver's knot inside a section.
Can I learn bookbinding without a book press?
Yes. Two smooth boards, some baking parchment and 5 to 10 kg (10 to 20 lb) of heavy books do the pressing, binder clips and two strips of board make a spine clamp, and a folded cereal box makes a piercing cradle.