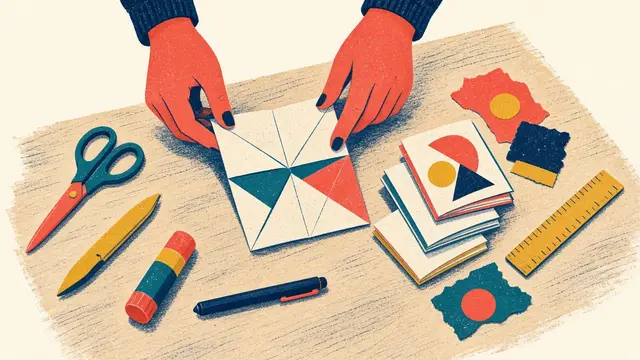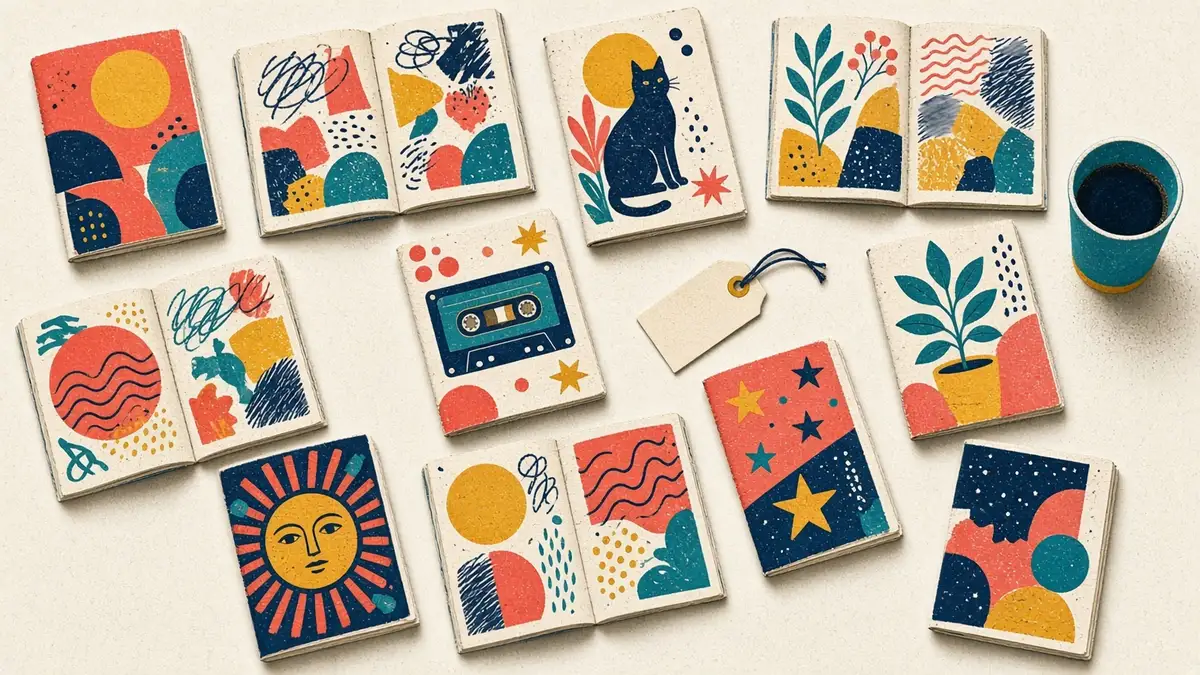
To make a zine, pick a subject small enough for 8 to 16 pages, choose a format (a one-sheet mini zine is easiest), plan every page as thumbnails, then draw, write or collage the pages onto a master. Copy the master on a printer or photocopier at actual size, fold, bind with staples or thread if needed, and share or swap the copies.
In this guide
Making a zine is not complicated, but it does have an order. Most first-zine frustrations (pages upside down, text cut off at the edge, copies that come out shrunk) come from doing the stages out of sequence or skipping one. Here is the whole process, start to finish, with the decision you need to make at each stage.
If you want to make something right now and read later, jump to the one-sheet mini zine tutorial. It is the best first zine there is.
Stage 1: choose a subject small enough to finish
The most common reason first zines never get finished is a subject that is too big. “My life” is a book. “One ordinary Tuesday, hour by hour” is a zine.
Shrink any idea in one of three ways:
- Narrow the time. Not “my family”, but “Sunday dinner at my aunt’s”.
- Narrow the place. Not “my city”, but “one street, end to end”.
- Count it. Eight pages, eight things: eight benches rated, eight overheard sentences, eight plants on your windowsill.
If you are stuck, borrow a prompt from our zine ideas guide. There is no wrong subject. Zines about bus routes, grief, sandwiches and tax law all exist and all have readers.
Stage 2: choose a format
Your format sets your page count, your page size and whether you need a stapler. Start simple.
| Format | Pages | Page size from US Letter / A4 | Needs | Best for |
|---|---|---|---|---|
| One-sheet mini zine | 8 | 2.75 × 4.25 in / A7 | Scissors | First zines, comics, workshops |
| Half-letter / A5 booklet | 8, 12, 16… | 5.5 × 8.5 in / A5 | Stapler or thread | Writing, art, most “classic” zines |
| Quarter-letter / A6 booklet | 8, 12, 16… | 4.25 × 5.5 in / A6 | Scissors, stapler | Pocket zines, poetry |
| Accordion | 8 panels | Strips | Tape | Timelines, journeys, maps |
The rule behind the booklet formats is simple: every folded sheet adds four pages. That is why booklets come in 8, 12, 16 and so on. Our guide to zine sizes and paper covers every size and paper weight in detail.
Stage 3: plan the pages before you draw them
Eight small pages is less room than it looks, and two of them are covers. Planning saves you from cramming the good part onto page 7.
Draw your zine as thumbnails: tiny rectangles, one per page, arranged the way a reader meets them. The front cover sits alone, then the spreads (2 and 3, 4 and 5, 6 and 7), then the back cover. Sketch roughly what goes on each.
A plan that works for almost any eight-page zine:
| Page | Job |
|---|---|
| 1 | Title, one strong image, your name |
| 2–3 | The hook: why this subject, why now |
| 4–5 | The heart of it, one idea per page |
| 6–7 | The payoff, the ending, or what to try next |
| 8 | Credits, date, contact, price or “free” |
Then make a dummy: fold a blank sheet into the finished format and write a small pencil page number on each page. Unfold it and you can see where every page sits on the sheet. This is the single most useful habit in zine making, and it is the subject of our guide to layout and imposition.
Stage 4: make the master
The master is your original, the thing you copy from. You can make it in three ways:
- Directly on the folded zine. Fast and great for one-off zines and workshops. You cannot easily copy it afterwards without unfolding.
- Flat on a sheet, by hand. Draw, write and paste onto an unfolded sheet, using your dummy to place each page in its panel, the right way up or upside down as needed. This gives you a master you can photocopy.
- On a computer. Lay out pages in an app and print or export a PDF. Use the app’s grid to keep margins even.
Whichever you choose, a few rules make copies look good:
- Black ink on white paper reproduces best. Fineliners and markers beat pencil, which copies faintly.
- Keep words and faces in the safe area, at least 0.25 in (6 mm) from every edge and further from the fold. Most home printers cannot print the outer 0.2 in or so of a sheet.
- Glue every edge flat on collage. A lifted paper edge throws a shadow that becomes a dark line on every copy.
- Make the cover readable from a metre away. One big title and one bold image beat a busy collage when your zine is on a crowded table.
Stage 5: print or copy
You can make a single zine and stop there. But most makers want copies, and copying is where the classic zine look comes from.
- Home laser printers give sharp, cheap, smudge-proof copies.
- Inkjet printers are fine for short runs and colour; let pages dry before folding.
- Copy shops are fast for 20 copies or more and can copy double-sided onto heavier paper.
- Risograph printing, offered by many community print studios, gives bright, grainy colour one ink at a time.
The setting that ruins the most first runs is the duplex flip. Booklet sheets are landscape, so they need flip on short edge. And always print at Actual size / 100%, never “Fit to page”, which shrinks your layout and adds white bands. Always run one test copy and fold it before printing the rest. The full walkthrough is in our guide to printing a zine.
Stage 6: fold and bind
Crease firmly. A bone folder or the back of a spoon gives crisp folds, and crisp folds make a zine look finished.
- One-sheet mini zines need no binding at all; the single cut and the folds hold them together.
- Booklets are bound through the centre fold. A long-reach stapler is the single best upgrade for a zine maker. A three-hole pamphlet stitch with a needle and thread looks handmade and takes about ten minutes once you have done it twice.
- Single sheets or loose leaves can be bound with side staples and tape, a Japanese stab binding, or even a rubber band and a twig.
Our bindings guide compares seven methods, and there is a dedicated pamphlet stitch tutorial.
Stage 7: share it
A zine is finished when someone else reads it. Give copies to friends, leave a few free copies in places that welcome them, trade with other makers, offer two copies to your local library, take a stack to a zine fair, or sell a few online. Put your name or handle and a way to reach you on the back page, and say “trades welcome” if you mean it.
The guide to selling, trading and giving zines covers pricing, fairs, shops, libraries and postage.
The five mistakes almost everyone makes once
- Pages upside down. On folded formats, half the pages sit upside down on the sheet. The pencil-numbered dummy prevents this.
- Art cut off at the edge. Keep everything important inside the safe area.
- Shrunk copies. Print at Actual size, not Fit to page.
- Wrong duplex flip. Landscape booklet sheets flip on the short edge.
- Forgotten masters. Collect your originals from the copier glass and the feeder before you leave the copy shop. It is the most common copy-shop loss.
Make your first one today
Start with the format that cannot really go wrong: the eight-page mini zine from one sheet. If you want templates that print at the right size first time, the free reader bonuses include an actual-size template pack for US Letter and A4, imposition cheat sheets and a 96-card prompt deck. And when you are ready for booklets, sewn bindings, colour printing and a fair-ready edition, the full set of 25 projects is in The Complete Zine Making Handbook.
Frequently asked questions
What do I need to make a zine?
For a first zine you need one sheet of copy paper, scissors and a black pen. A glue stick and old magazines let you add collage. To make copies you need a home printer or access to a photocopier; for booklets you need a long-reach stapler or a needle and thread.
How long does it take to make a zine?
Folding a one-sheet mini zine takes about ten minutes. Filling its eight pages takes most people 30 to 90 minutes. A 16-page booklet with writing, layout and a small print run usually takes a weekend.
Can I make a zine on my computer or phone?
Yes. Design the pages in any app that exports a PDF, such as Canva, Google Slides, Affinity, Scribus or InDesign, set the page size to your finished zine size, and either lay the pages out on the sheet yourself or use a PDF reader’s booklet print option to impose them.
How many pages should my first zine have?
Eight. The one-sheet mini zine has exactly eight pages including the front and back covers, needs no staples, and is small enough to finish in one sitting.
What size is a zine?
Common sizes come from folding standard paper: 2.75 × 4.25 in (from one US Letter sheet), 4.25 × 5.5 in quarter-letter, and 5.5 × 8.5 in half-letter. In A-series countries the equivalents are A7, A6 and A5.